
If you are like me and love bread, you will definitely enjoy learning how to make focaccia at home. The best part is that focaccia is one of the easiest things to make. It only requires some waiting time, but other than that, it’s nearly impossible to go wrong if you follow the step-by-step instructions.
My first encounter with focaccia was during the bakery training I attended in 2018. Until then, it was completely unknown to me, but obviously, it was love at first bite.
I didn’t make focaccia again until years later. The truth is, I was a bit intimidated by the recipe, but after understanding the step-by-step process, it has become one of my favorite things to prepare on the weekends.
A great idea is to make a thicker focaccia by using a slightly smaller pan than recommended, slicing it in half lengthwise, and making a sandwich. I’m craving one with prosciutto, burrata, and pesto! I hope you give it a try.
The different preparation methods
The truth is that there are several ways to make focaccia. Some start with all the ingredients at room temperature, while others begin by activating the yeast in warm water. Some people incorporate multiple folds (we’ll talk about that later), while others skip folding altogether. Some use honey or sugar, while others do not.
That being said, know that this recipe is not the “correct way to make focaccia” because there isn’t one. There are also those who claim that you can only call it focaccia if it’s produced in Italy, in a specific location 😅. Let’s pretend we’re in Italy, then!
I tested at least four different preparation methods in two different recipes to arrive at the result that pleased me the most, and I’m confident it will please you too.
The ingredients you will need to make the focaccia
- Flour
- Water
- Yeast
- Salt
- Sugar
- Olive oil
First of all: what are the folds?
Focaccia is a dough with high hydration, meaning it contains a large amount of water in its composition, resulting in a very soft dough.
The hydration percentage of a dough is compared to the weight of the flour, always considering the flour as 100%. To be more specific, this dough has 80% hydration, meaning the weight of the water is equivalent to 80% of the weight of the flour. Clear so far?
In doughs with this level of hydration, instead of kneading, we perform folds to develop gluten networks, which will create an elastic and strong dough that can trap carbon dioxide from fermentation, producing those large bubbles (air pockets) within the dough.
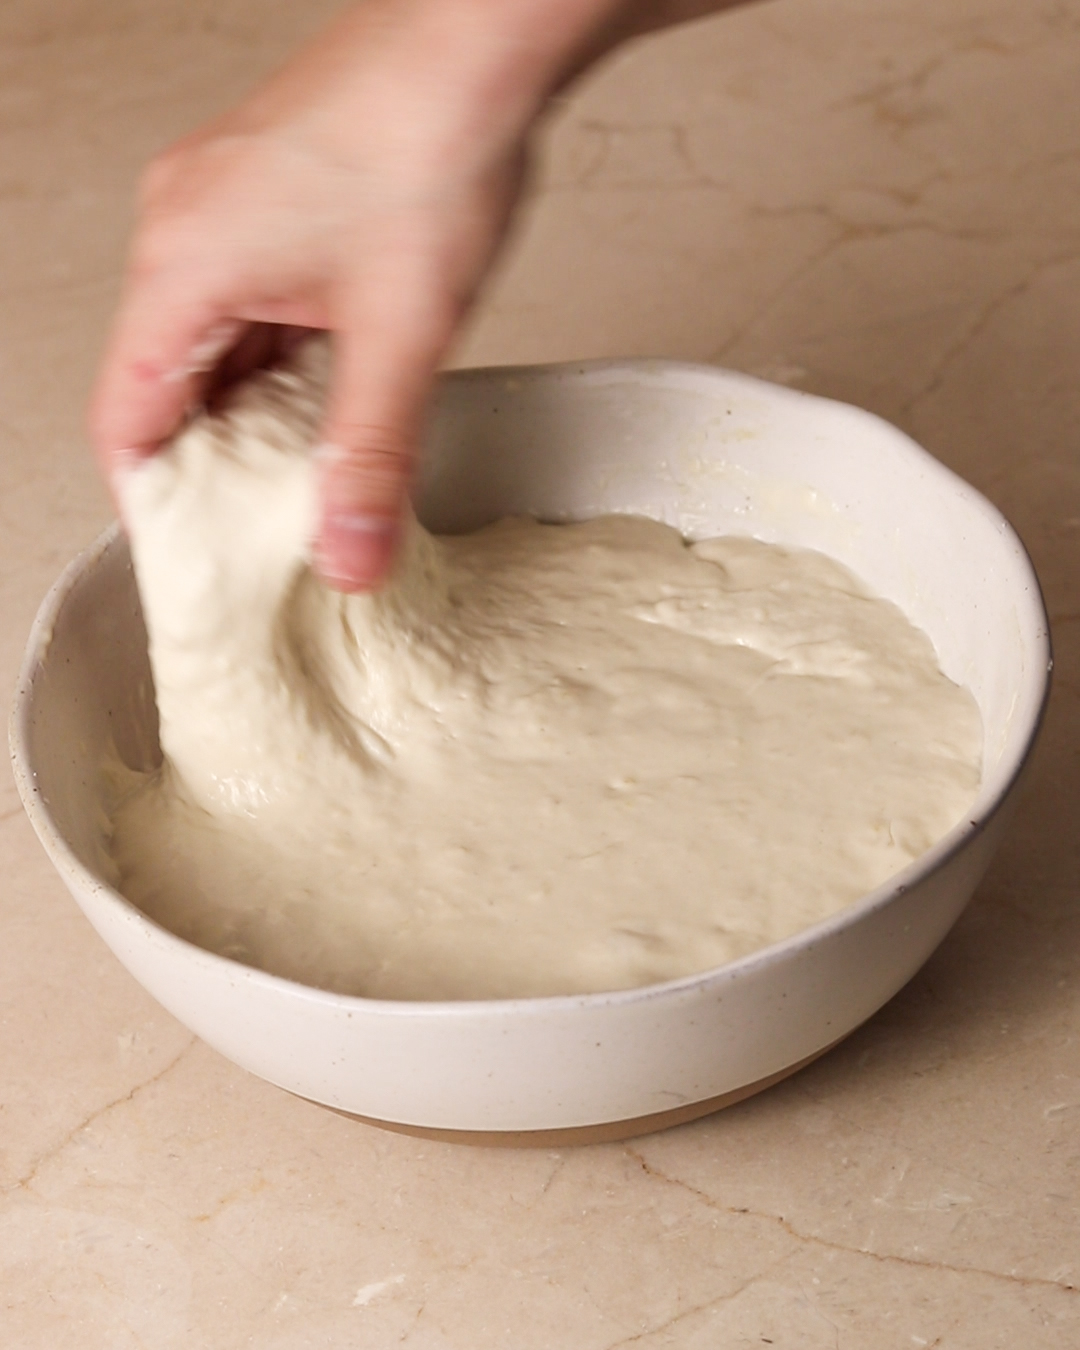
The folds are literal folds! In this dough, we will perform two different types: stretch and fold, and coil fold.
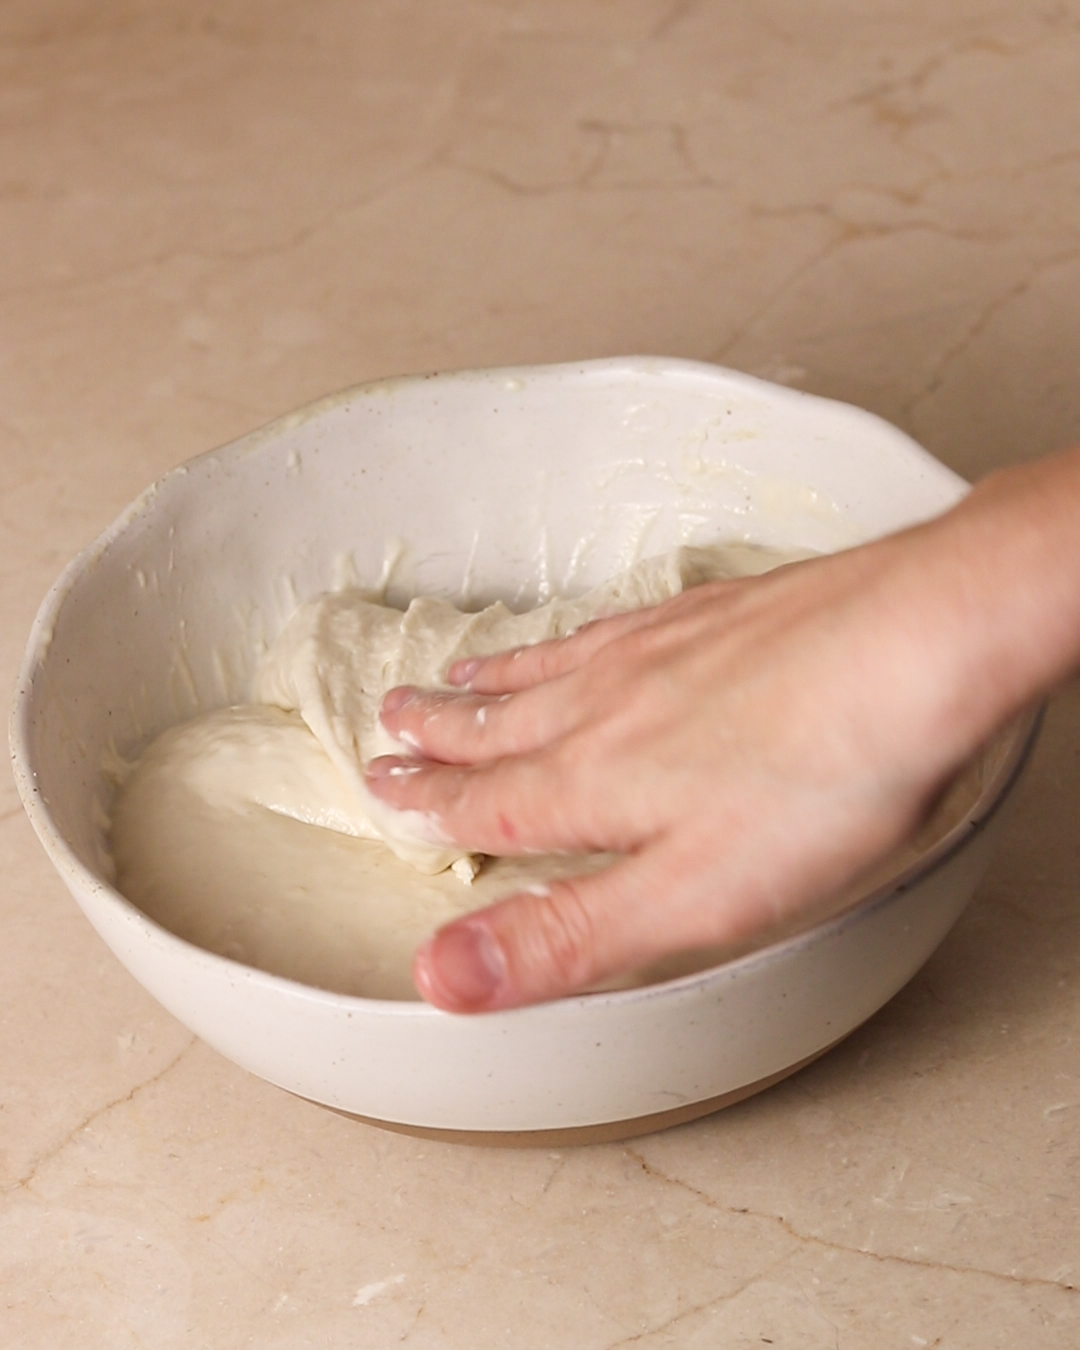
In the beginning, when the dough is not well-developed and still quite sticky, we’ll do what’s called stretch and fold. With wet hands (always wet your hands when handling the dough to prevent sticking), grab one side of the dough, stretch it, and fold it over itself. Repeat this process along the entire side of the dough, as shown in the images below.
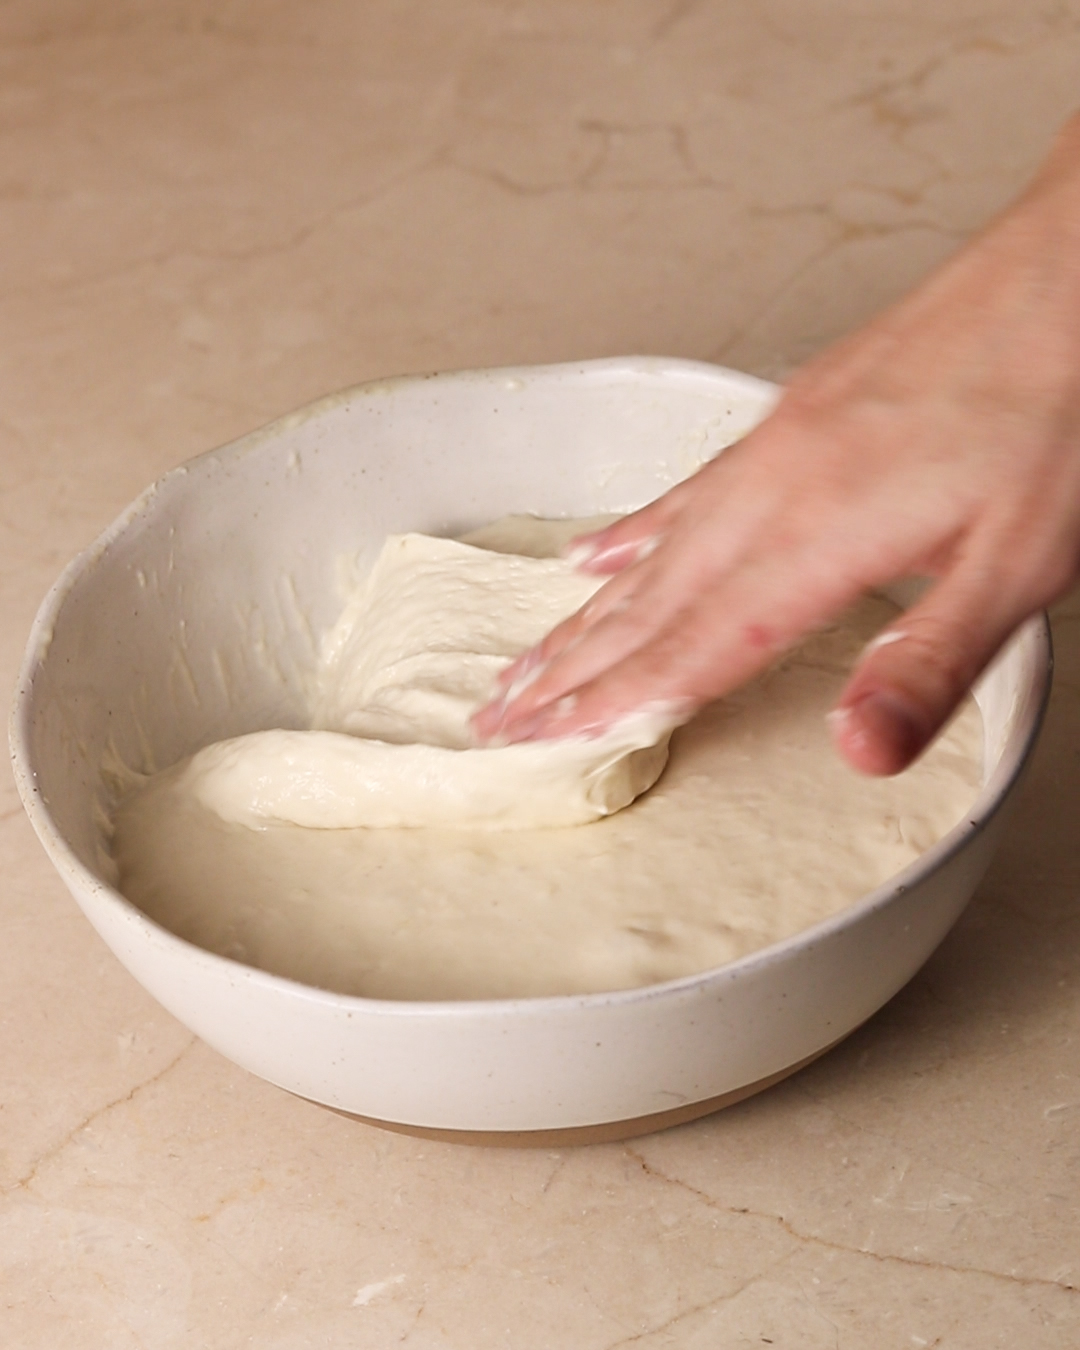

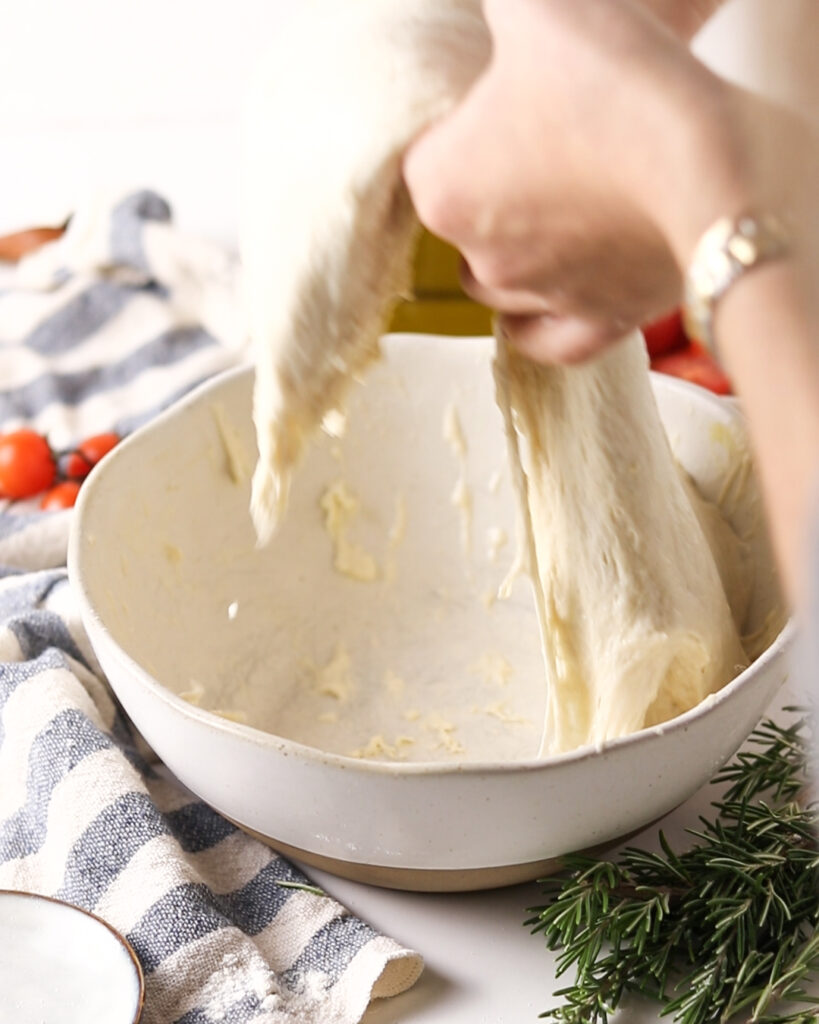
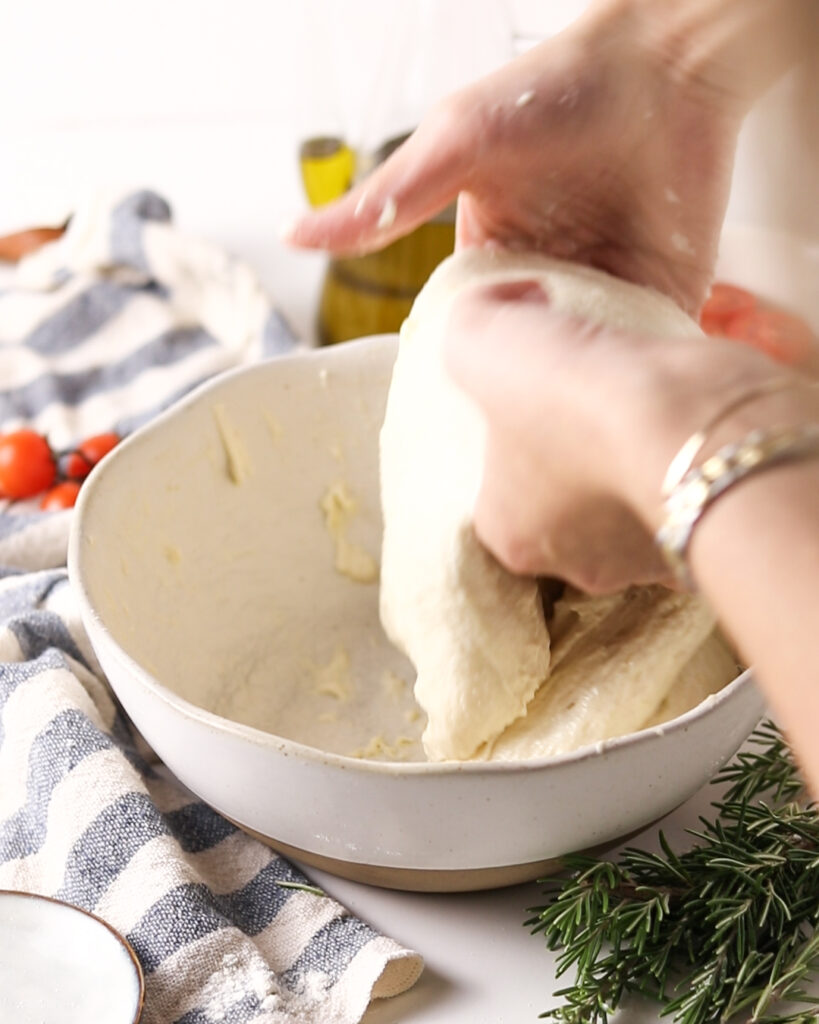
To the next fold, which is the coil fold, you’ll grab the dough from underneath, lift it, and with the edges that are hanging in the bowl, fold it over itself. After that, you should turn the bowl 90 degrees and fold it again, following the images below.
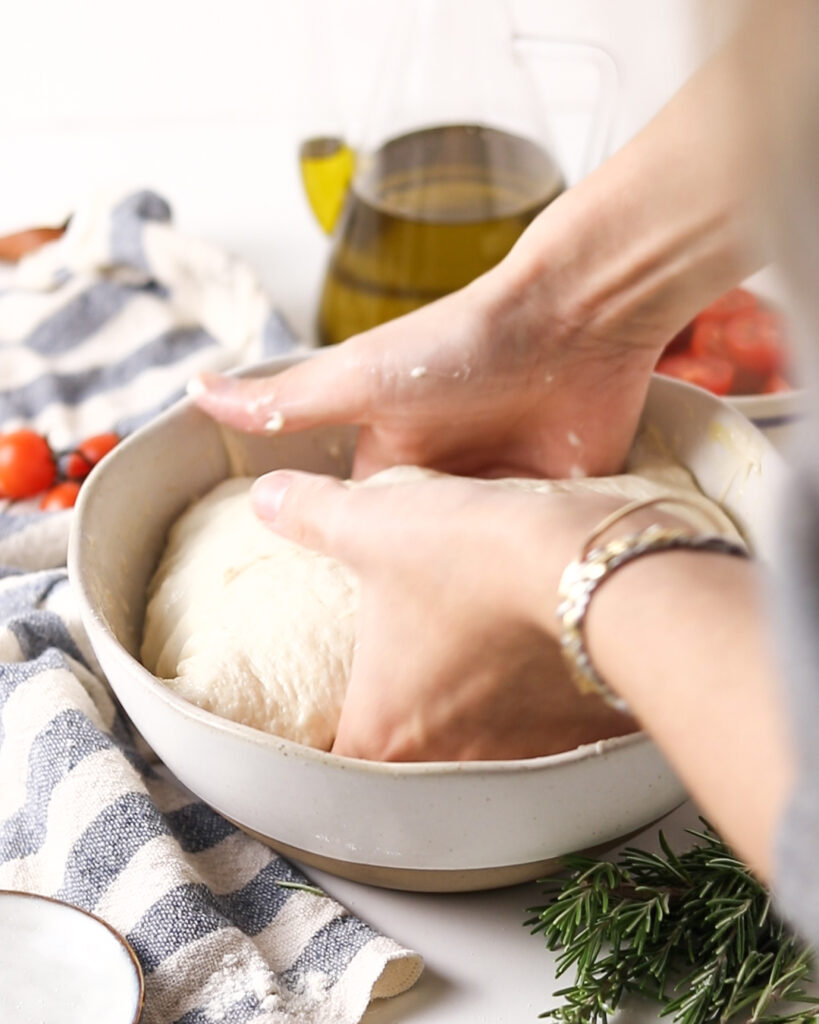
In both folding techniques, I like to start by releasing the sides of the dough from the bowl’s edge, and of course, always with water in your hands.
I swear to you, it’s super simple — just folds, much easier than kneading dough. I just wanted to provide more details and knowledge so that you understand why you’re doing them.
That said, it’s time to literally get your hands in the dough!
How to make focaccia dough
First, remember that it should ferment in the refrigerator overnight, or at least for about 8 hours, so take that into account when you start preparing it.
I like to begin by activating the yeast in warm water. In the bowl where I’ll make the recipe, I combine the yeast, sugar, and part of the recipe’s water. I mix it with a whisk or fork and let it sit for five minutes.
After the five-minute pause, I add the remaining ingredients: water, salt, and flour. I mix it well with a spoon, cover it with a cloth, and let it rest for 30 minutes. This resting time allows the flour to hydrate and be ready for the folding process.
Let’s move on to the first fold: water your hands, gently release the dough from the sides of the bowl, and then start stretching the edges and folding them over the dough. Remember to water your hands whenever the dough starts to stick to them. Repeat this process on all sides. Cover it with a cloth and let it rest for another 30 minutes.
Now, for the second fold: water your hands, gently release the dough from the sides of the bowl, pull the dough upward, completely lifting it from the bowl, and fold it over itself. You can also lift half of the dough, fold it, and then lift the other half and fold it. Rotate the bowl 90 degrees and repeat the process on the other two sides of the dough. Cover it with a cloth and let it rest for another 30 minutes.
Repeat the second fold three more times, always with a 30-minute interval between each.
After these steps, let time do its work: generously coat a baking pan with olive oil, carefully pour in the dough, cover it with plastic wrap, and let it ferment slowly in the refrigerator overnight.
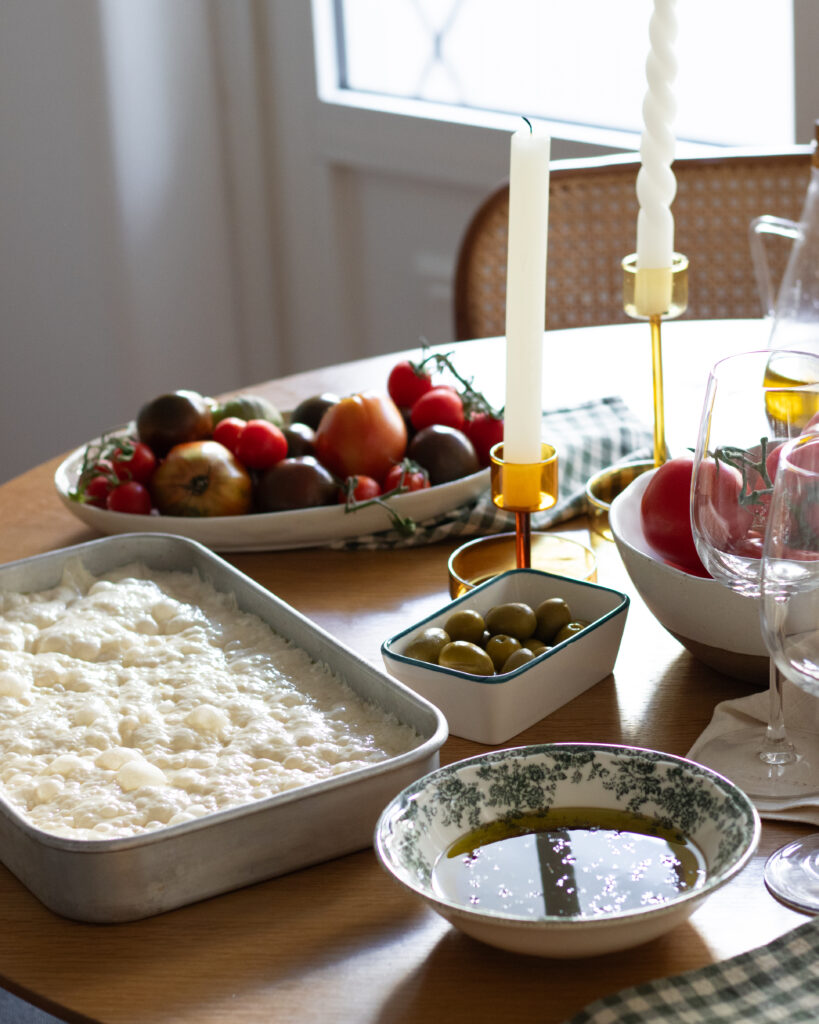
The next day, you’ll find a dough that’s bubbly and soft. Take it out, coat your hands with olive oil, and with the tips of your fingers, make “holes” in the dough. After that, you can flavor it as you prefer: tomatoes, rosemary, salt, olives, or nothing at all. All variations are delicious.
Let it sit at room temperature for about two hours, and use the last 20 minutes to preheat your oven to 230℃.
Bake for approximately 25 minutes or until the top is lightly golden.
After taking it out of the oven, I can honestly wait for a maximum of 10 minutes before eating it.
I really hope you like it. If you have any questions, feel free to reach out! And if you make it, remember to tag me on Instagram @casacaroba.