Making the perfect quiche begins with mastering the crust, with a good quiche dough. This guide will walk you through the process of creating a quiche crust that is crispy yet tender, using both traditional hand-mixing methods and modern food processors. Whether you’re a novice baker or a seasoned chef, you’ll find valuable tips to enhance your baking skills.
What to expect from a quiche crust
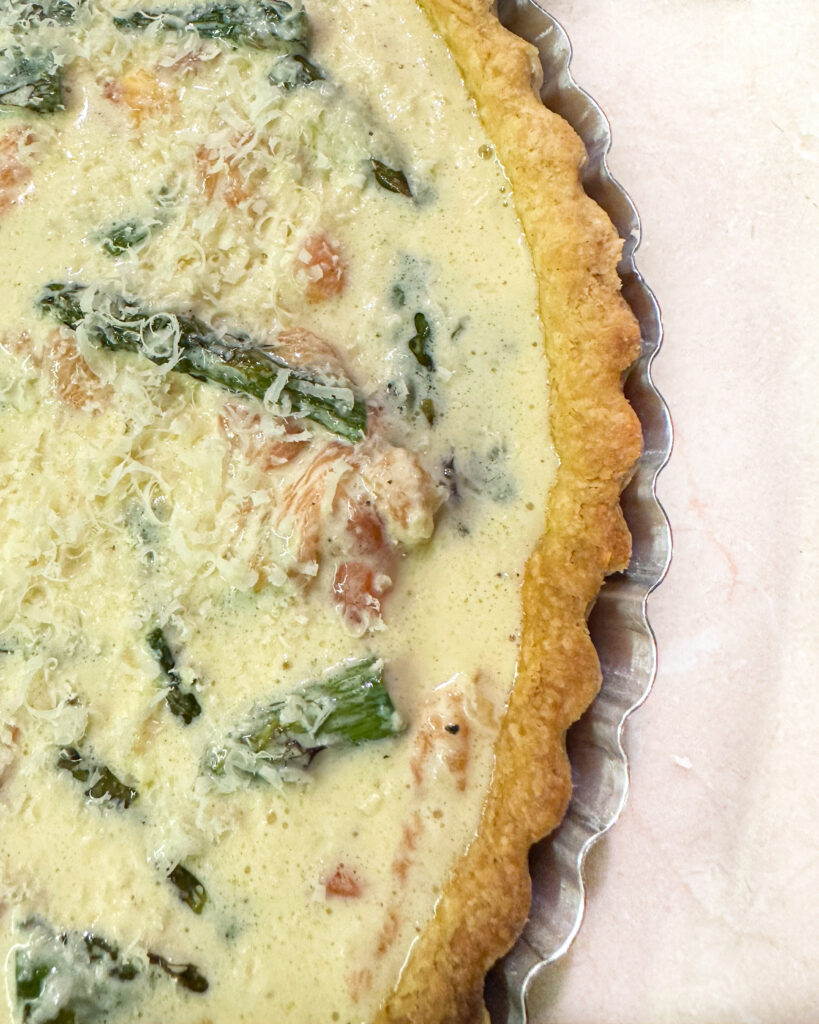
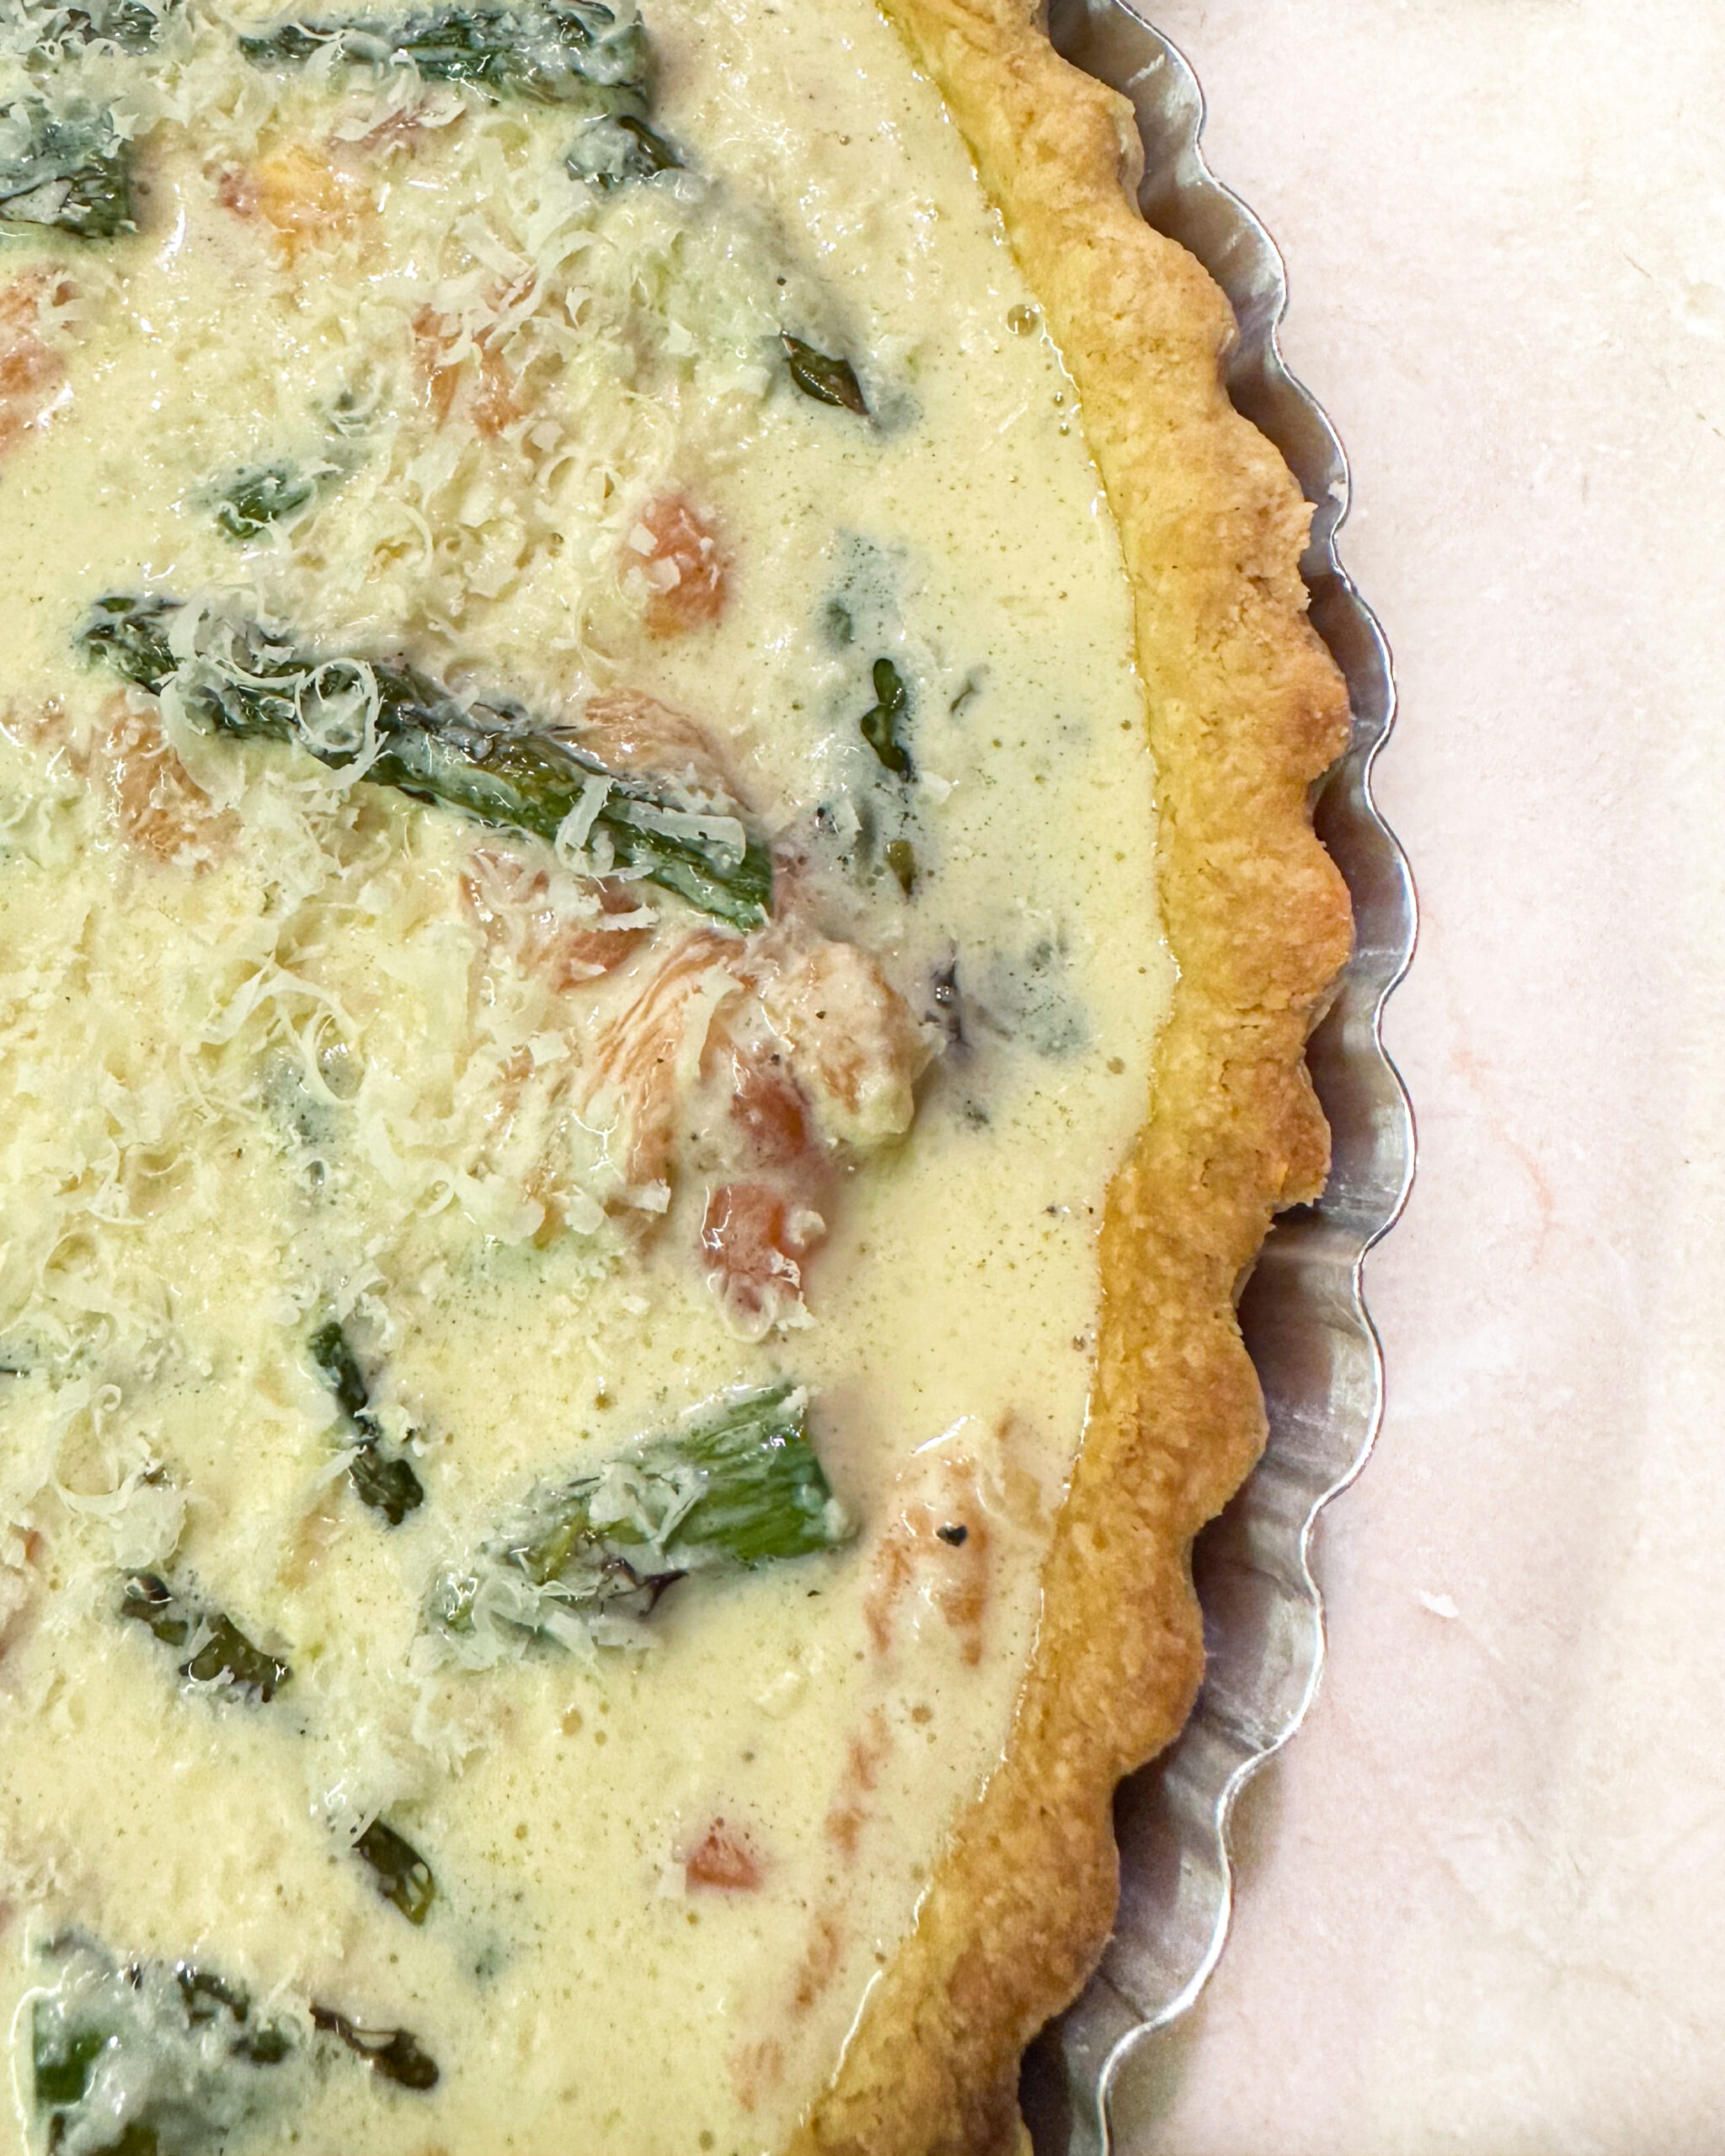
A superb quiche crust should be crispy around the edges but sturdy enough not to break when sliced. The ideal crust offers a delicate crunch reminiscent of shortcrust pastries yet maintains a firmer texture that holds up under the weight of the filling.
Achieving the perfect crust
The secret to a perfect quiche crust lies in the method. Overworking the dough can lead to toughness, while under-mixing can create those coveted flaky layers. Below, explore both traditional and modern techniques to find your preferred method.
Ingredients for the quiche dough
- Flour: The base of your crust, providing structure.
- Butter: Cold butter is crucial for flakiness.
- Egg: Adds richness and color.
- Salt: Enhances all the flavors.
Making the dough by hand
- Prep your butter: Start by chopping cold butter into small cubes or flakes for easier blending.
- Mix: In a large bowl, combine the flour and butter. Use your fingers to blend them until the mixture looks like wet sand with small clumps.
- Add ingredients: Gently mix in the egg and salt by hand, folding the dough until it forms a cohesive ball.
- Chill: Wrap the dough in plastic wrap, flatten slightly, and chill. Use within a few hours, or freeze for later use.
Using a food processor
- Combine dry ingredients: Place flour and butter in the food processor, pulsing until you achieve a sandy texture.
- Add wet ingredients: Add the egg and salt, pulsing just until the dough forms a ball.
- Rest: Wrap and chill the dough as with the hand-mixed method.
Rolling out the quiche dough
Cover your workspace with plastic wrap or a silicone mat, place the dough on top, and cover with another layer of wrap. Roll out into a circle large enough to cover your pie dish, including the sides.
Molding and pre-baking the dough
- Fit the Dough: Carefully transfer the dough to your pie dish, pressing into place and trimming excess.
- Pre-Bake: For a crispier base, freeze the shaped dough for 10-15 minutes before baking. Prick the bottom with a fork to prevent bubbling.
- Bake: If using pie weights, line the dough first with parchment and fill with weights, removing halfway through baking.
Storing the quiche dough
- Refrigerate: Store raw dough in the fridge for up to 3 days.
- Freeze: For longer storage, freeze the dough for up to 3 months.
Creating the perfect quiche crust is an art that any home baker can master with a little practice. Whether you prefer a hands-on approach or the convenience of a food processor, the right technique can elevate your quiches from simple to sublime.
Remember, if you try this recipe, share your creation with me on Instagram @casacaroba — I’d love to see your culinary successes!
Happy baking,
Glau ❤︎
PrintQuiche Dough
5 Stars 4 Stars 3 Stars 2 Stars 1 Star
No reviews
- Author: Glau Machado
Ingredients
- 250 g all-purpose flour
- 180 g unsalted butter, cold (omit salt if using salted butter)
- 1 egg
- A pinch of salt
Instructions
- Prepare the butter: Cut the butter into small cubes or flakes.
- Mix dry ingredients: In a large bowl, combine the flour and butter. Using your fingertips, blend the butter into the flour until the mixture resembles wet sand.
- Add wet ingredients: Gently mix in the egg and a pinch of salt. Be careful not to overwork the dough to avoid activating the gluten.
- Chill the dough: Wrap the dough in plastic wrap and press it into a flattened square. Chill in the freezer for about 15 minutes, or in the refrigerator for several hours.
- Roll out the dough: Place another piece of plastic wrap, parchment paper, or a silicone mat on your work surface. Put the dough on top and cover it with the plastic wrap it was wrapped in. Roll out the dough into a circle using a rolling pin or a bottle. Ensure the dough extends beyond the size of your pie dish to cover the sides.
- Mold the dough: Remove the top layer of plastic wrap and invert the dough into your pie dish. Carefully remove the remaining plastic wrap and mold the dough inside the dish. If any part isn’t covered, take some dough from the excess and patch it.
- Prep for baking: Prick the dough all over with a fork. Place it back in the freezer for another 15 minutes.
- Bake the crust: Before baking, you may cover the dough with parchment paper and fill it with rice or beans to prevent the dough from rising or the edges from collapsing. If you choose not to use weights, be aware that the edges might sink slightly.
- Final baking: Bake directly from the freezer. If baking with weights, bake for 15 minutes, remove the weights, and continue baking until the base is slightly dry. If baking without weights, just keep an eye on it until the base is slightly dry.
- Add filling and finish baking: Once the crust is pre-baked, add your filling and bake until the filling is set.

